Python Installation
Hey there, aspiring coders! Ready to embark on an epic journey with Python? Before we dive into the coding magic, we need to get Python up and running on your Windows, macOS, or Linux machine. Don’t worry, it’s a piece of cake, and I’m here to guide you through the installation process step by step for Windows. Let’s get started! For macOS, please visit the next page.
Table of Contents
Installing Python on Windows:
- Get the latest Python installer for Windows from the official Python website. Just search “Python download for Windows” and you’ll find it. Or click here to go to the download page.

- Open the folder where the installer is downloaded usually in “Downloads” directory in Windows. Double-click it as below.

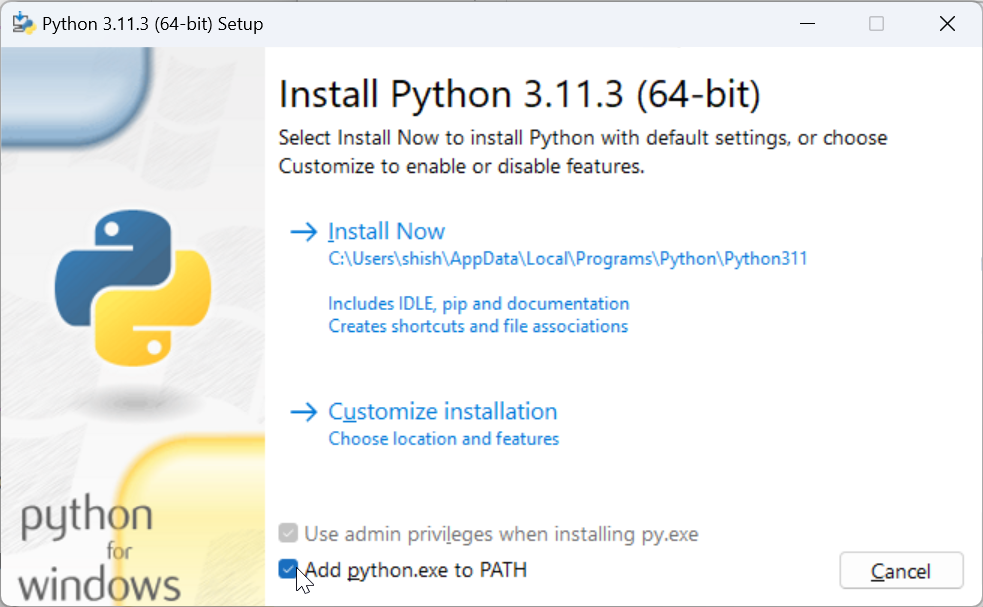
- After double-clicking, before the installation, don’t forget to check the box that says “Add Python to PATH” for easy access to Python from the command prompt.

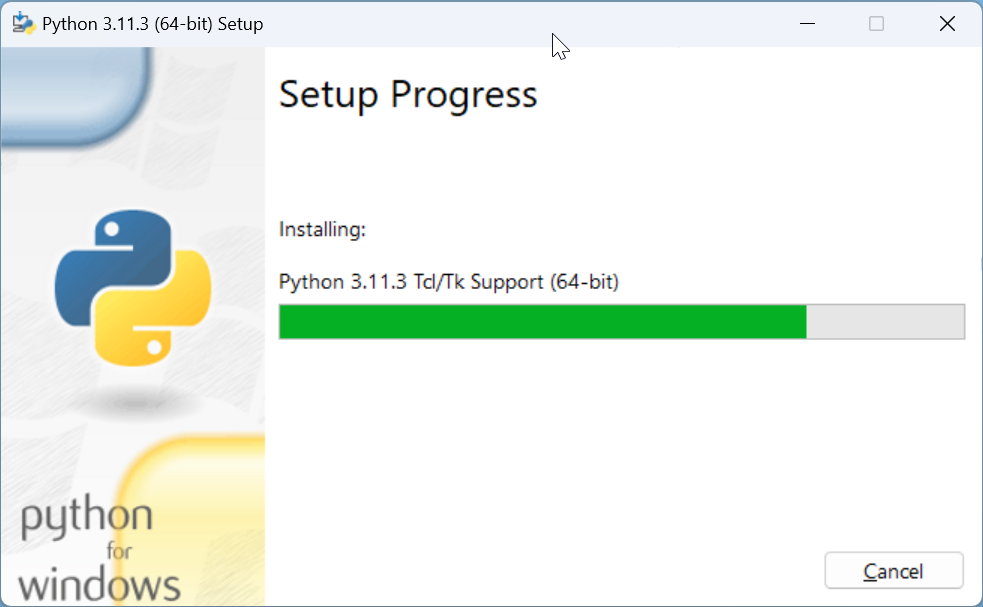
- Choose the installation location as wish or leave it default and click “Install Now” Python will work its magic and get itself installed on your Windows machine.
- Click “Install Now”

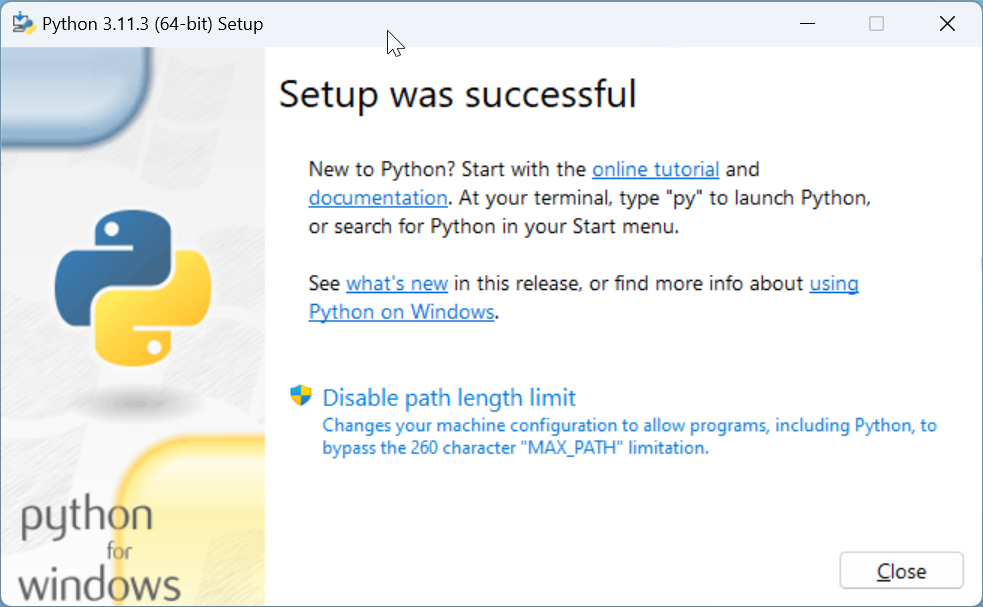
- Installation is done. Click Close.

Summary
Congratulations, fellow coder! You’ve successfully installed Python on your Windows machine. Now, nothing can stop you from diving into the exciting world of Python programming.
Remember, Python is your trusty companion on this coding adventure. So, fire up your code editor, flex those coding muscles, and let Python lead you to greatness. Get ready to create amazing projects and bring your ideas to life with the power of Python!
Happy coding, and may your Python journey be filled with endless possibilities!
