Your First Python Program on Jupyter Notebook
Are you ready to dive into the world of Python programming using Jupyter Notebook? If so, you’re in the right place! This comprehensive guide will walk you through every step of creating your first Python program on Jupyter Notebook. Let’s get started!
Table of Contents
What is Jupyter Notebook?
Jupyter Notebook is an open-source web application that allows you to create and share documents containing live code, equations, visualizations, and narrative text. It’s a powerful tool for data cleaning and transformation, numerical simulation, statistical modeling, data visualization, machine learning, and much more.
Why Use Jupyter Notebook for Python Programming?
Jupyter Notebook is a popular choice among Python programmers for several reasons. It provides an interactive environment where you can write and run code in real-time. It supports over 40 programming languages, including Python, and allows you to include rich text elements (paragraphs, equations, figures, links, etc.) using Markdown. Moreover, Jupyter Notebook is highly customizable and extendable, offering a variety of plugins for additional functionality.
Setting Up Jupyter Notebook
Before you can start programming in Python on Jupyter Notebook, you need to install it on your computer. Here’s how:
- Install Python: Jupyter Notebook is written in Python, so you’ll need to have Python installed on your computer. You can download Python from the official website. Along with Python, you’ll also need pip, which is a package manager for Python.
- Install Jupyter Notebook: Once you have Python and pip installed, you can install Jupyter Notebook using the following command in your command prompt or terminal: See as shown in the screenshot.
pip install notebook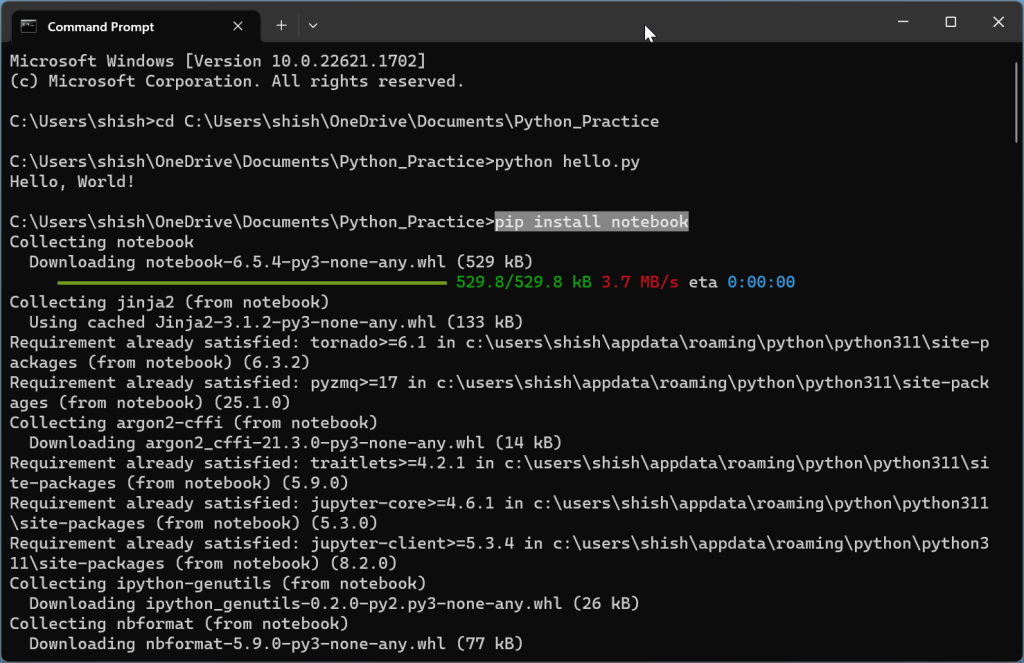
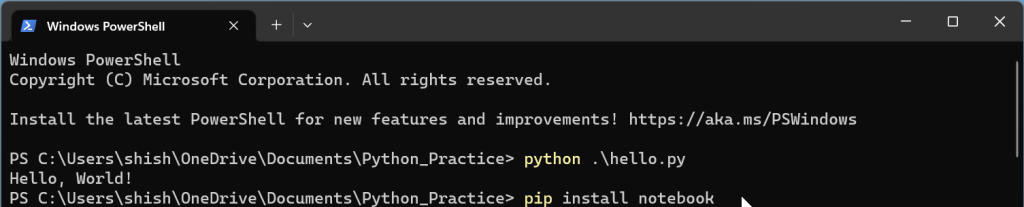
- Alternatively, you can use Powershell as well.
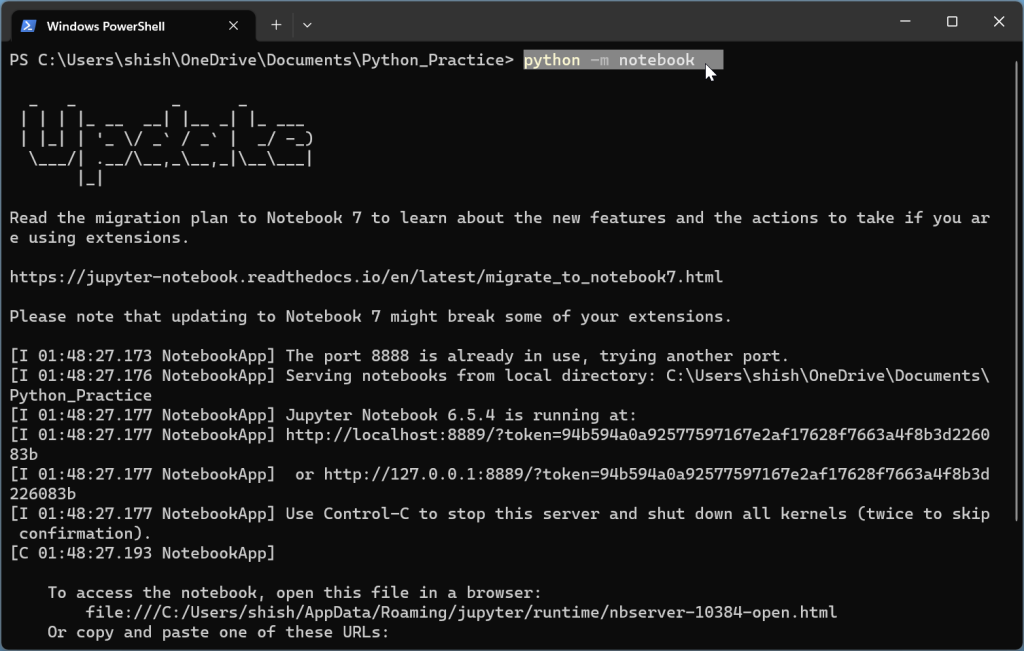
- Launch Jupyter Notebook: After installation, you can launch Jupyter Notebook by typing
python -m notebookin your command prompt or Window Powershell terminal. This will open Jupyter Notebook in your default web browser.
python -m notebook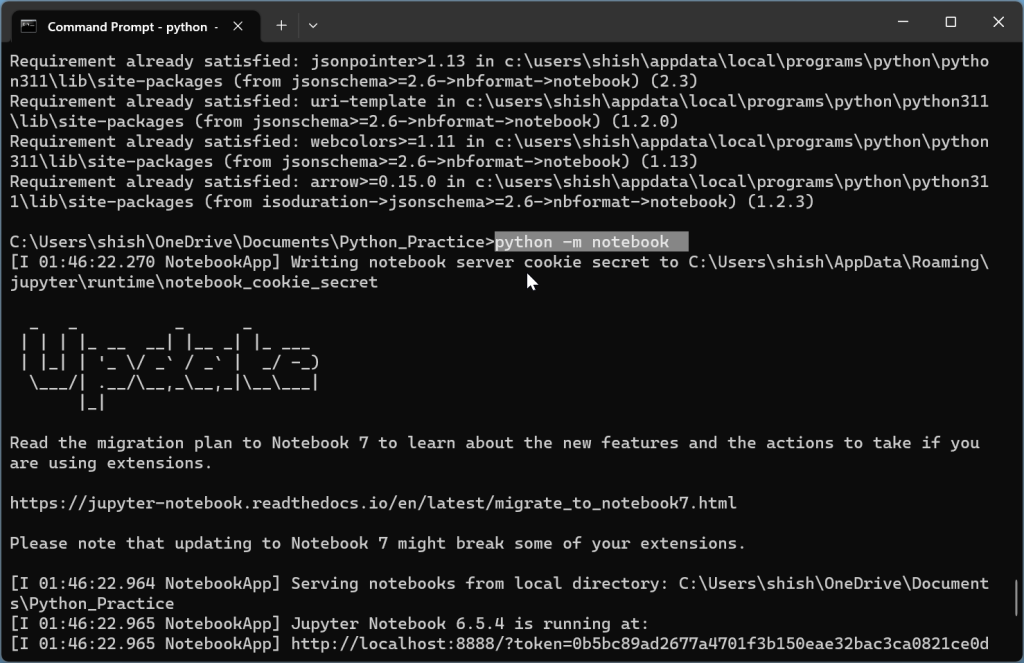
Creating Your First Python Program on Jupyter Notebook
Now that you have Jupyter Notebook set up, it’s time to create your first Python program. Follow these steps:
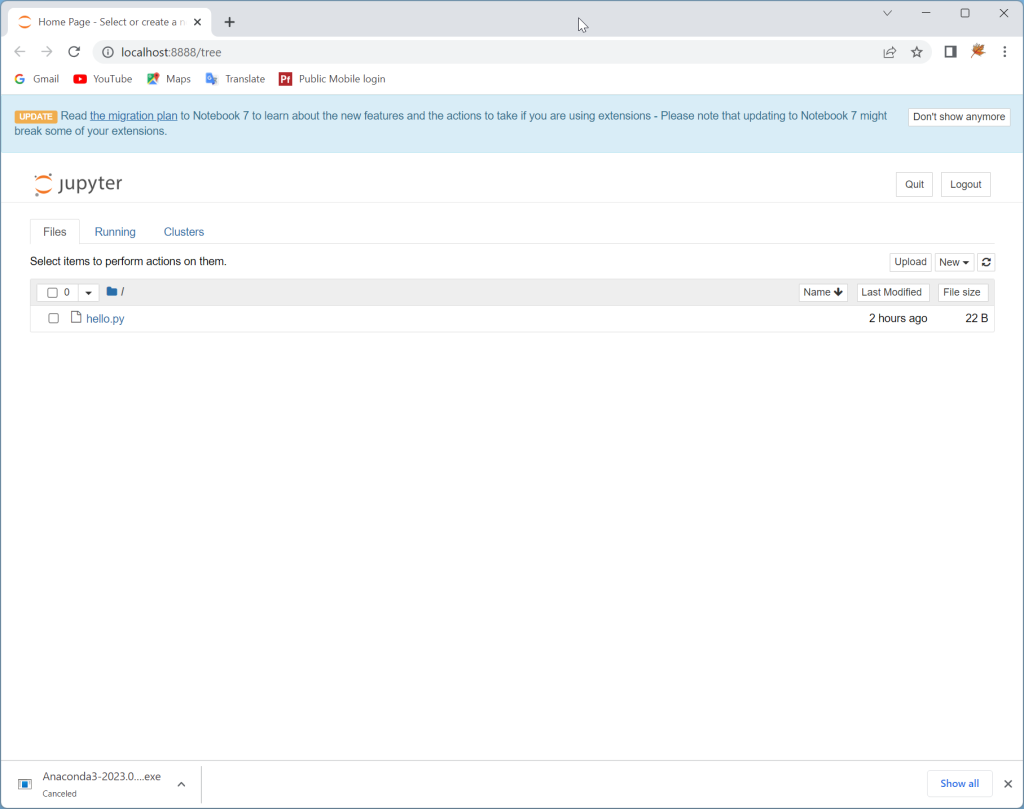
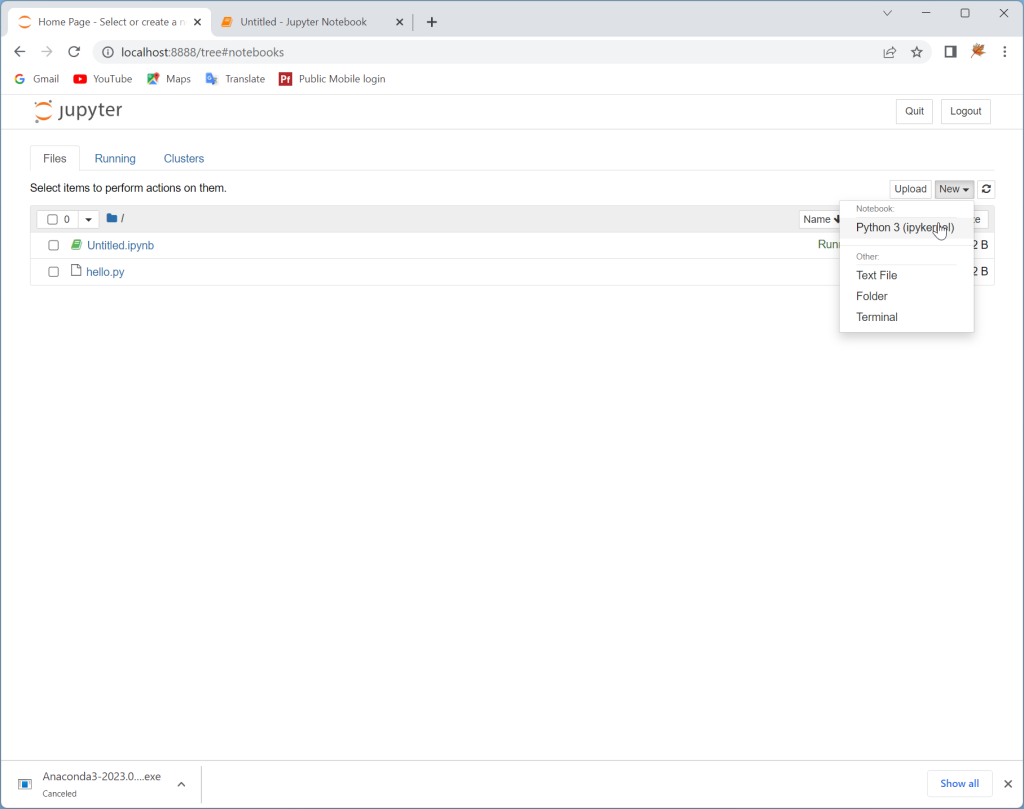
- Create a new notebook: In Jupyter Notebook, click on ‘New’ and select ‘Python 3’ to create a new notebook.
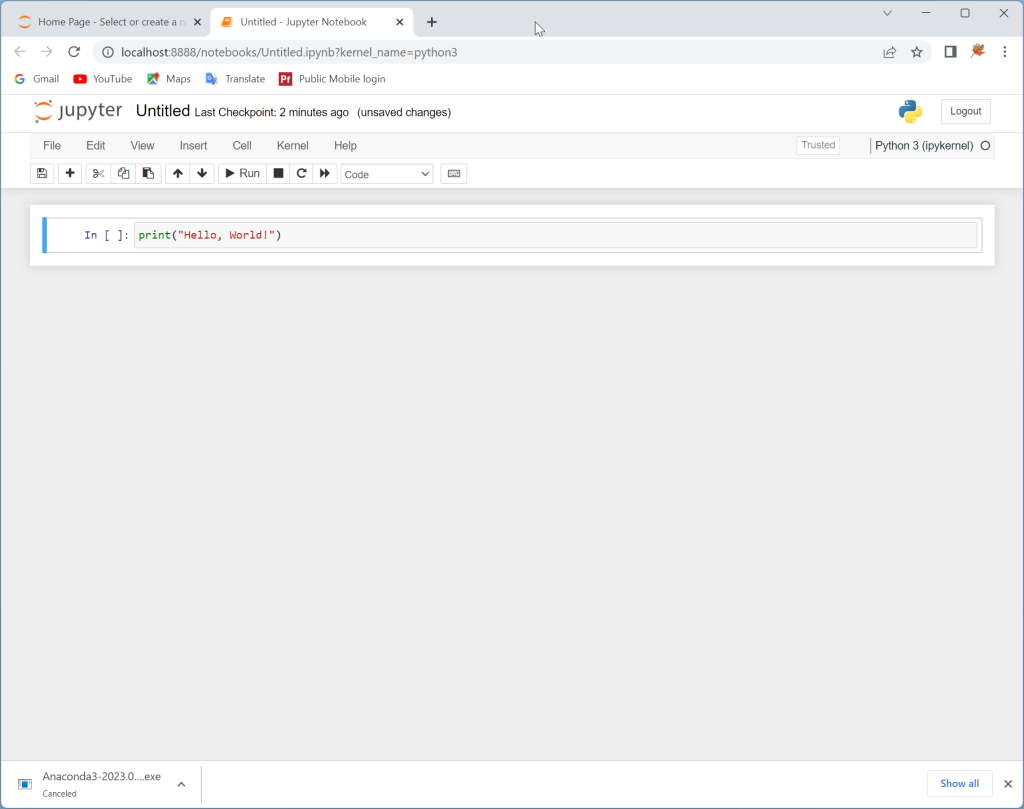
- Write your code: In the first cell of your notebook, you can start writing your Python code. For example, you could write a simple program that prints “Hello, World!” like this:
print("Hello, World!")
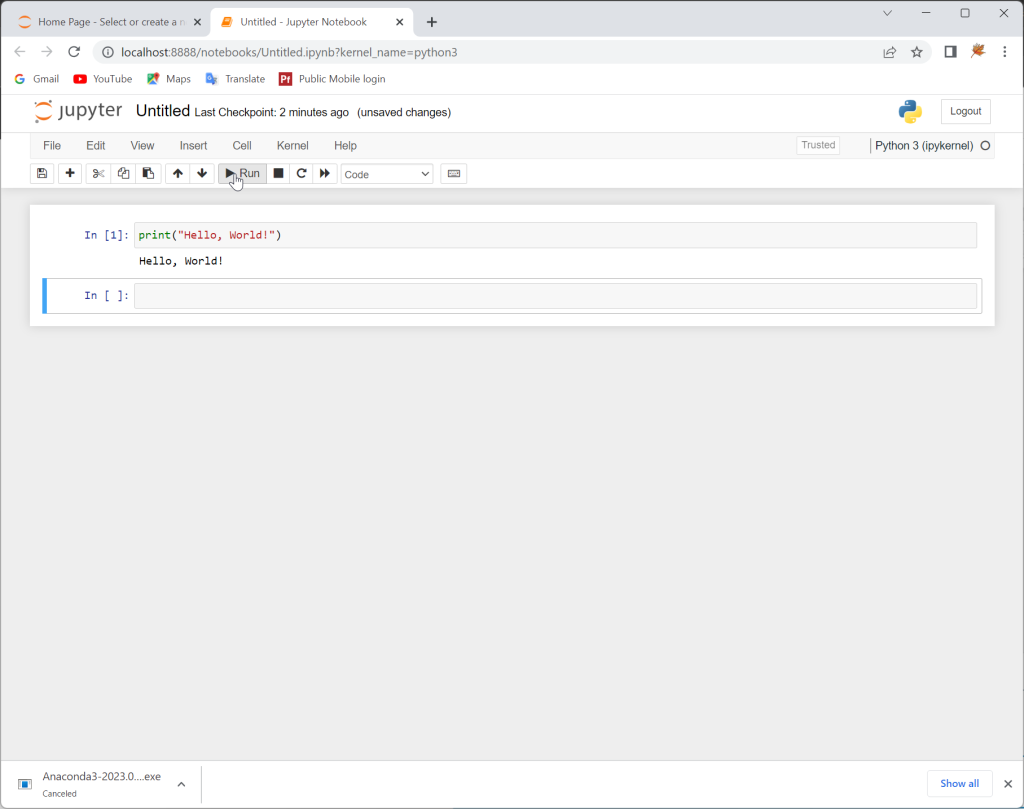
- Run your code: To run your code, simply click on the ‘Run’ button or press Shift+Enter. You’ll see the output of your code displayed below the cell.
- Save and share your notebook: Once you’re done with your program, you can save your notebook by clicking on ‘File’ and then ‘Save’. You can also share your notebook by exporting it in various formats (HTML, PDF, .py, etc.).
Tips for Using Jupyter Notebook
Here are some tips to help you get the most out of Jupyter Notebook:
- Use keyboard shortcuts: Jupyter Notebook has several keyboard shortcuts that can help you work more efficiently. For example, you can run a cell by pressing Shift+Enter, or add a new cell above the current one by pressing A.
- Use magic commands: Jupyter Notebook supports “magic” commands – special commands that are not part of the Python language. These commands can be very useful for tasks like timing your code, running shell commands, or changing the current working directory.
- Use Markdown for rich text: Jupyter Notebook supports Markdown, a lightweight markup language that you can use to add formatting to your text. This can be veryuseful for adding headings, bold or italic text, links, images, and more to your notebook.
- Use the interactive features: Jupyter Notebook is not just for writing and running code. You can also use it to create interactive widgets, display data in a variety of formats, and even create animations and interactive visualizations.
Frequently Asked Questions (FAQ)
-
How to create your first Python package from a Jupyter Notebook?
Creating a Python package from a Jupyter Notebook involves a few steps. First, you need to write your Python code in a Jupyter Notebook. Then, you can convert your notebook to a Python script using the
nbconverttool. Finally, you can package your script into a Python package using tools likesetuptoolsorpoetry. -
How do I write a Python program in Jupyter?
Writing a Python program in Jupyter is easy. Simply create a new notebook, write your Python code in a cell, and then run the cell. You can also add text, images, equations, and more to your notebook using Markdown.
-
How do I start a Jupyter Notebook for Python?
To start a Jupyter Notebook for Python, you first need to install Jupyter Notebook on your computer. Once installed, you can launch Jupyter Notebook by typing
jupyter notebookin your command prompt or terminal. This will open Jupyter Notebook in your default web browser. -
Is Jupyter Notebook good for beginners?
Yes, Jupyter Notebook is a great tool for beginners. It provides an interactive environment where you can write and run code in real-time, making it easier to learn and experiment with Python. Plus, it supports Markdown, which allows you to add rich text elements to your notebook, making it a great tool for learning and teaching.
Alternative method to run Jupyter Notebook
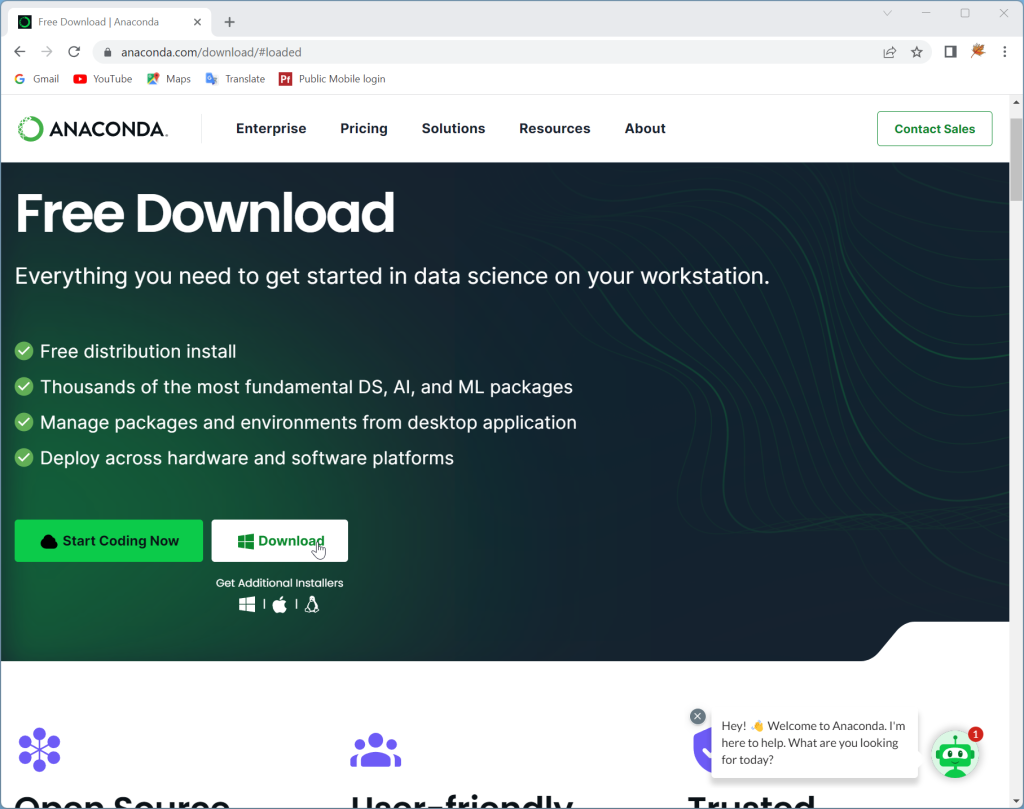
- Alternatively, you can Download Anaconda by clicking here and install it.
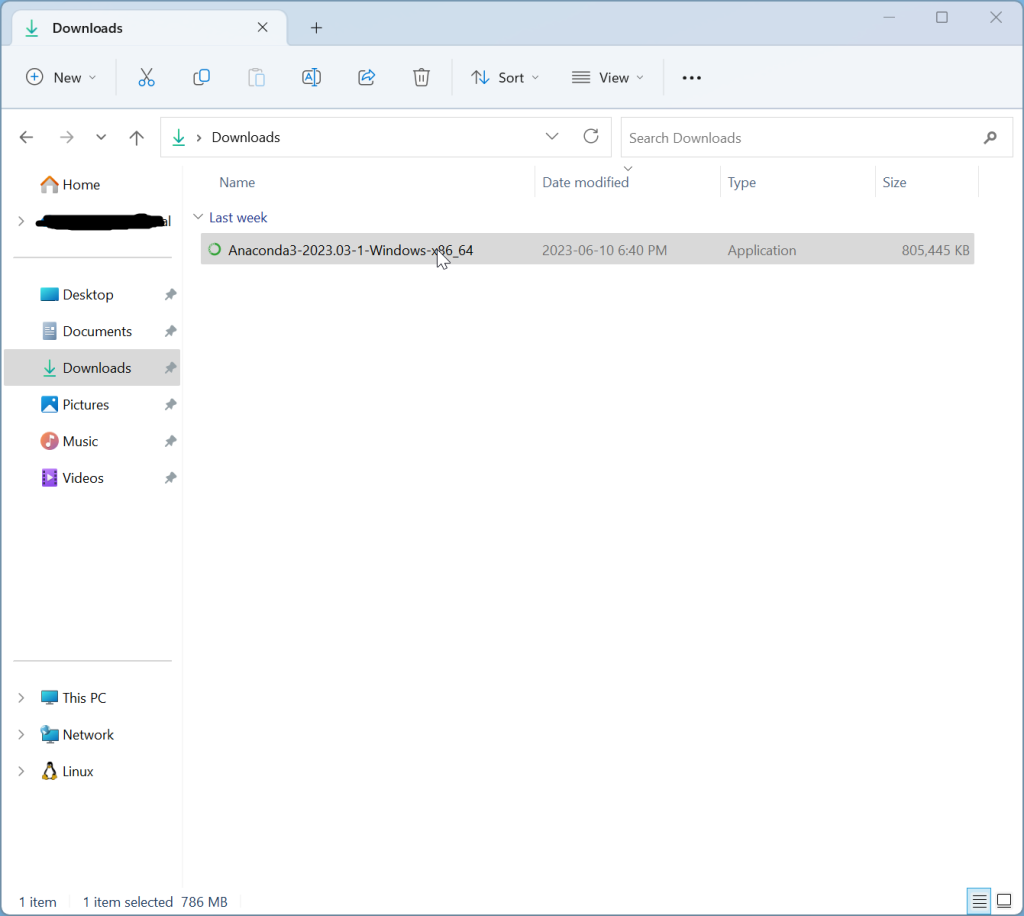
- Double-click the installation file.
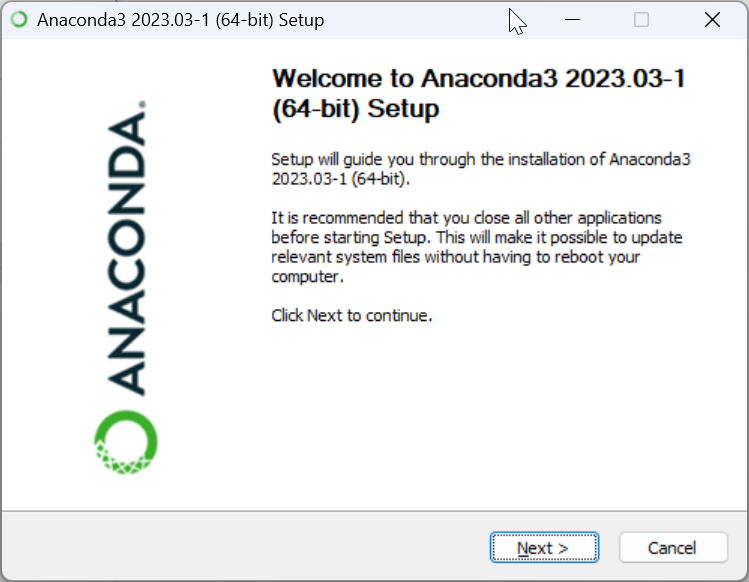
- Complete installation of Anaconda.
- Open Anaconda prompt and enter the following command.
jupyter notebook